It has has been a while since I did a DIY project, as you know DIY’s can be a very fun project to do, at times it can be very de-stressing as well and above all its great to do recycled projects and reduce wastage!
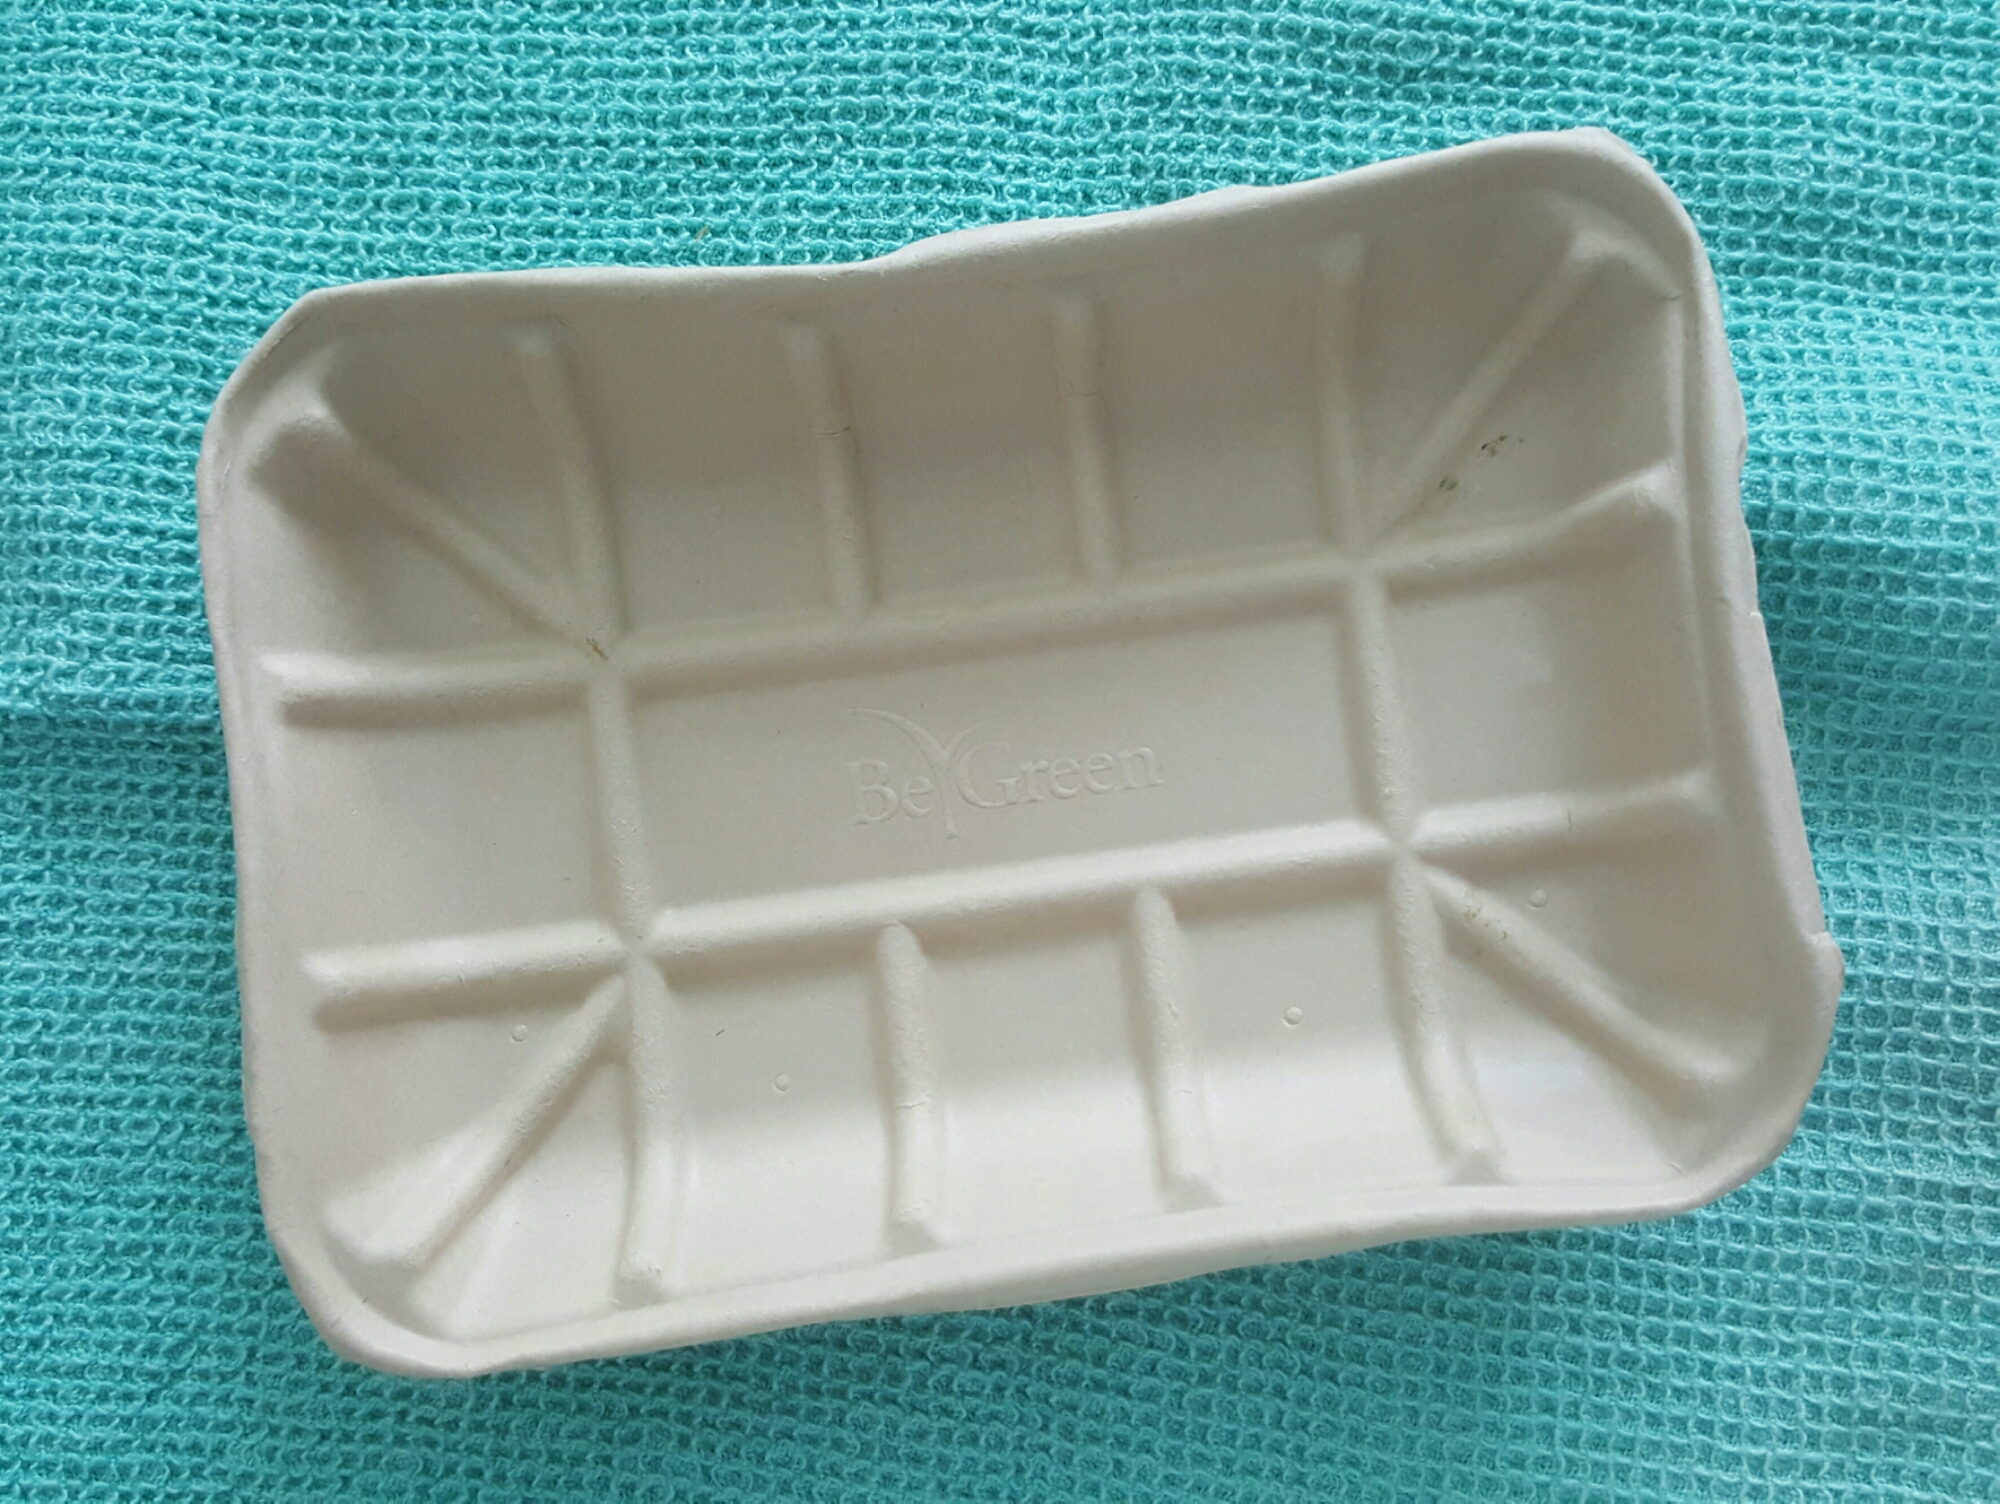
While organizing my groceries in my fridge I noticed my organic tomatoes had a lovely cardboard tray, and I was thinking how awesome it would be for a DIY project. I saved the tray aside and completely forgot about it, after a couple of weeks while busy doing my errands and trying to take something from my kitchen cabinet out this little cardboard tray falls, ahh I thought its time! Lol
So while having my coffee I was examining the tray and wondering what use could I make of it, they I realized I always wanted those little trays where you can dump your immediate and most used stuff, or it would make a great multi-purpose tray.
So then I started taking my acrylic paints and paint palette, and was wondering what color would go well, for those of you who have been following my blog and Instagram would be aware, I’m crazy about pink and blush colors, so I chose to paint it blush pink and gold.
What you will be needing for this project:
1. Cardboard tray
2. Paint brushes
3. Paint palette
4. Acrylic paints
For the Blush pink shade, I mixed (Crimson red, Burnt Sienna and White)
Gold, I used – (lemon yellow and yellow ochre)
First, you will need to add 2-3 squeezes of white paint to the palette and 1 squeeze of the crimson red and burnt sienna mix this until you get a nice blush pink shade. Now paint this onto to the tray and make sure you double stroke them depending how much coverage your paint gives.

Brush strokes should be right to left this gives better coverage.
Once your done painting the whole top make sure you don’t paint the edges yet, leave the tray to dry for 5-10 mins.

When the tray is dried start painting the edges, 2 squeeze of yellow ochre and one of lemon yellow) this gives a shade of gold, brush this on the edges and to the connecting circles.

You now have a lovely blush/gold multipurpose tray that can be used for anything, this was very useful even hubby loved it!
Here are a few examples of how you could use this tray:
(scroll your cursor to image to view description).


Hope you guys enjoyed the diy, share with us if you have any other creative ideas we can use this tray for?
